
I was going to show you how to make rings next, but this necklace came up first instead. Since I dabble in arts and crafts of all kinds, it is understandable that some of my work branches out to my family first, before reaching others. Looking back, many branches have formed over the years. I love it that my family takes interest in what I do, whether it is something simple or something extremely challenging, ha! So, when I received an order that I placed from beadsandpieces.com (with their exotic selection of beads), I excitedly showed my family my new supplies, hoping that they would be interested in "something". My older son immediately took interest in some of the pieces for a new necklace to sport on his upcoming missions trip to Guatamala. I excitedly got to work right away creating a new necklace for him with some of the beads he had chosen.
If the necklace strikes your interest, below I have laid out the instructions for making this unique piece of jewelry.
Supplies you will need for this project:
(Click on the images for a larger view)
 8 lb Fishing Line~Found at any sporting goods stores. Stay away from professional fishing line, it can get pricey. I simply bought 'Zebco' brand Omniflex Monofilament fishing line, 8 lb test at 700 yards for a few bucks at Wal-mart. At 700 yards, it will last me a long, LONG time. If your asking yourself, "why fishing line"? Some braided beading threads originated as fishing lines. I found I would rather have more string for my money using 6-8 lb test line when the results are the same.
 Scissors~Any size will do, as long as they are sharp enough to cut a simple fishing line. Can be found in most stores. If you are extra frugal with your funds, during the back to school sales for a simple pair of kids scissors are the cheapest!
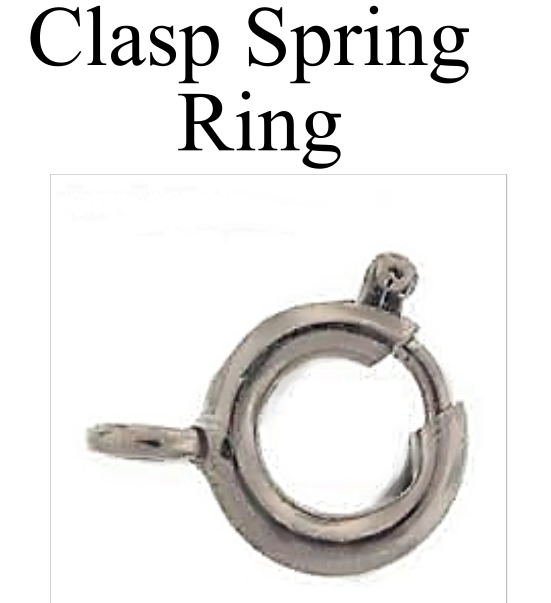 Clasp Spring Ring~I used two of these for this particular necklace. I bought a cheap pack that had approximately 50 clasps at Wal-mart for a couple of bucks, but found the connecting ring to be weak and untrustworthy under simple pressure. So, I used two of the main spring clasps instead as an added precaution for an active teenage boy!
 Measuring Tape~For measuring around the neck to have a good estimate of how long to make your necklace. It is also helpful to keep it on hand to measure your piece throughout construction to make sure it doesn't become too long, or isn't long enough. This can be picked up at just about any arts and crafts or sewing store. If even this is out of your reach, using a simple string as a measuring tool will suffice!
 Bone Tea-dyed Sticks (Item # BON1515BR)~ These can be found at www.beadsandpieces.com . These particular beads come with approximately 75 pieces per strand, at a little over five bucks, which is more than I generally like to pay for beads. But the uniqueness of them won me over. Shipping and handling is very minimal from this website. I have ordered many times and they have been trustworthy and a delight to deal with.
 Brown Coco 8x3mm Pukalet (Item # COS1708x3N)~ These beads can also be found at www.beadsandpieces.com . These come with approximately 125 pieces per strand, at a little over a dollar. This is what I normally spend, ha! Even though this item isn't made out of bone, it still presents itself as a unique item of interest.
 Laser Carved Wooden "Faith" Pendant~I also picked this up at www.beadsandpieces.com . I took a shine to this piece right away, and so did my son! This was also priced a little over a dollar.
 Wooden Seed Beads (Just a few)~ You only need 4-6 of these to separate your larger beads from the clasp. When purchasing several strands of beads from the Beads and Pieces website, they came on a heavier type fishing line or jewelry string. At the end of the bead strands they sometimes have these itty-bitty wooden seed beads to separate the beads from the knot of the strings. I thought they would come in handy so I kept them. (So these were, in fact, free?) However, any seed bead, or small sized beads will do.
INSTRUCTIONS
(Click on the images for a larger view)
First I measured the diameter of my son's neck, making sure that the necklace would not be too tight. I circled his neck and marked the measuring tape and also made sure I could put my fingers easily between his neck and the tape. Safety and well-being is more important than how "cool" it looks!
After you have your measurements, you can lay the measuring tape flat and mark a piece of paper as a mock ruler guide, or keep your tape handy to measure throughout construction, but make note of the approximate size nonetheless. For his neck size and safety measures, my son's necklace came to be approximately 17 inches from clasp (end) to clasp (end) in length.
 Since the pendant was going to be the centerpiece, I decided I would start from the center and work my way out. I pre-cut enough fishing line to be more than 25 inches, so that I could tie the ends with ease. I then threaded the fishing line through the hole on the pendant and tied a simple knot at the center of the fishing line, a couple of times for good measure. This way it would not lay sideways, but lay flat on his chest.
 Since the bone beads that he chose were long and awkward, I threaded both sides of the fishing line through two of the coco beads first to give height so that the bone beads would have room.
  Then I divided the sides and began the pattern of two--by--two of the beads.
 Alternate between the bone stick beads and the coco beads. Take time to count or keep track of your pattern or how many beads you do on one side, so that the other side matches. Once you get so far, double check with your teenager to make sure this is the pattern that he would enjoy.
  As you see in the picture, I had a do-over, ha!
  So I then staggered the beads every other one and made sure that I didn't exceed the intended length.
  We are almost there!
 Once you are close enough to the approximate length, add your seed beads. A couple will do before adding the clasp.
  This will give the fingers ample room to work the clasp without fumbling on the larger beads that could get in the way.
 I added a clasp spring ring on both sides instead of one clasp spring ring and a simple ring. On an active teenage boy, and some testing of sturdiness, I found the simple ring did not stand up to my measures. So two clasp spring rings it was! Attaching the clasps is a simple knot tied several times for good measure. Pull the necklace to make sure the knots are secure and cut off excess fishing line. Just make sure the ratio of the fishing line vs. beads is not too loose where bare fishing line will touch skin! The finished necklace should like the picture when you are finished.
No comments:
Post a Comment